
How to Setup Windows Subsystem for Linux
Windows Subsystem for Linux (WSL) provides you with a handy Bash shell running directly in Windows 10 without the need for a local virtual machine or a remote host. This allows you to install and run many Linux command-line tools from the comfort of your Windows desktop. For stability purposes, I recommend being on at least the Fall Creator’s Update for Windows 10 (1709) before continuing with the installation instructions below.
Enable Windows Feature
To get started, open Control Panel, navigate to Programs and Features, and select Turn Windows features on or off on the left-hand side. In the Windows Features pop-up, scroll down and check the box next to Windows Subsystem for Linux and click the OK button.
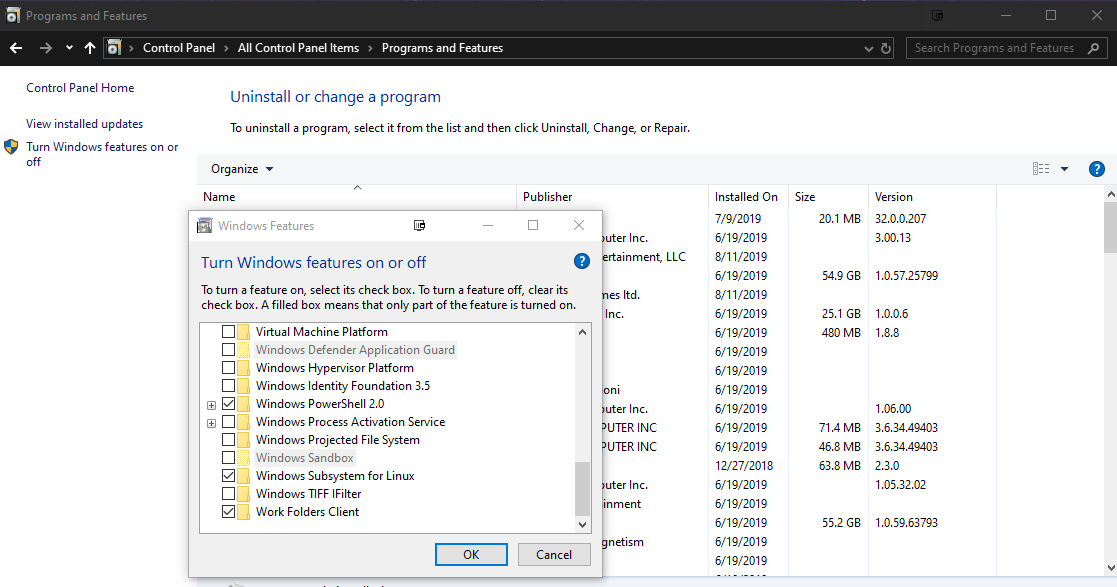
Once the addition of the feature is complete, you will be prompted to restart your computer. We’ll wait and do this later by clicking the Don’t restart yet button. You can exit out of Control Panel at this time.
Choose a Linux Distro
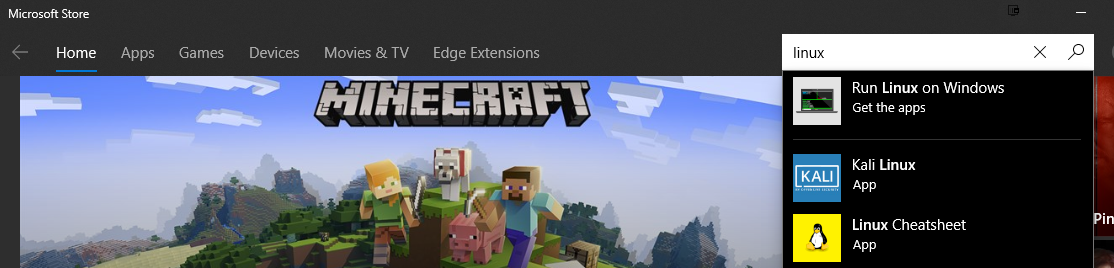
Launch the Microsoft Store application and type Linux in the search box. You should see “Run Linux on Windows” at the top of the suggestions, click on it to proceed to the list of available distro options.
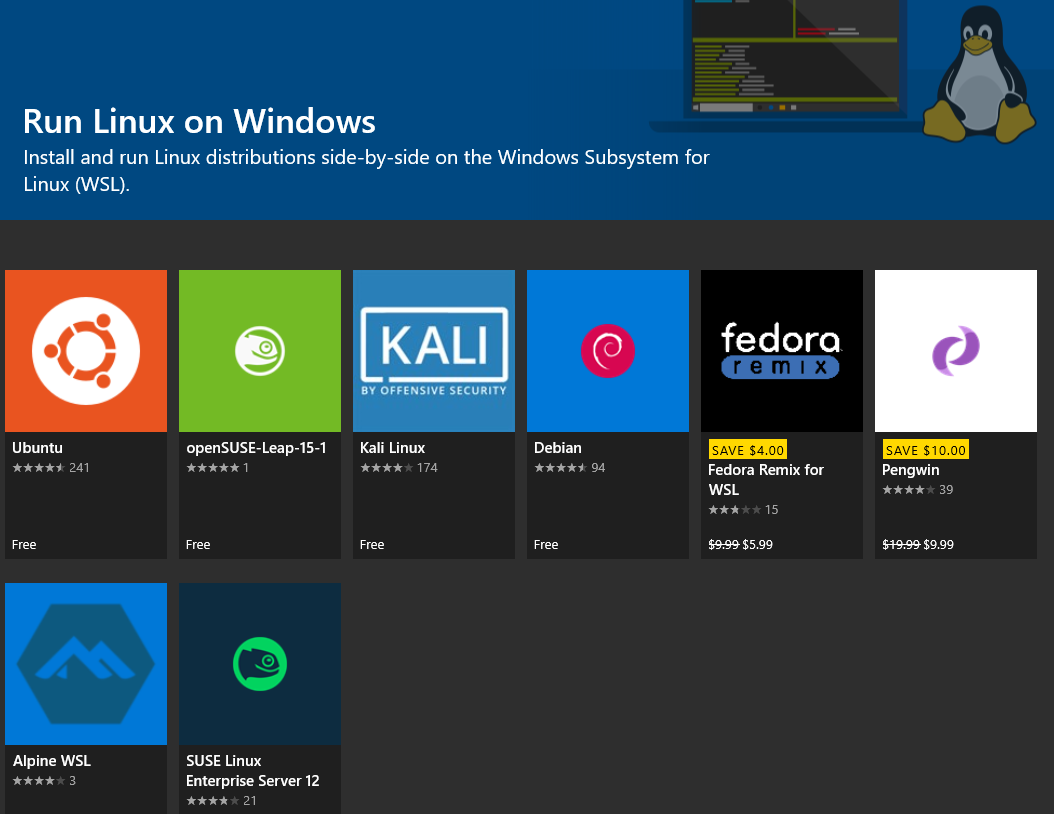
On this screen, select your desired distribution to continue to its store page; for my purposes I chose Ubuntu.
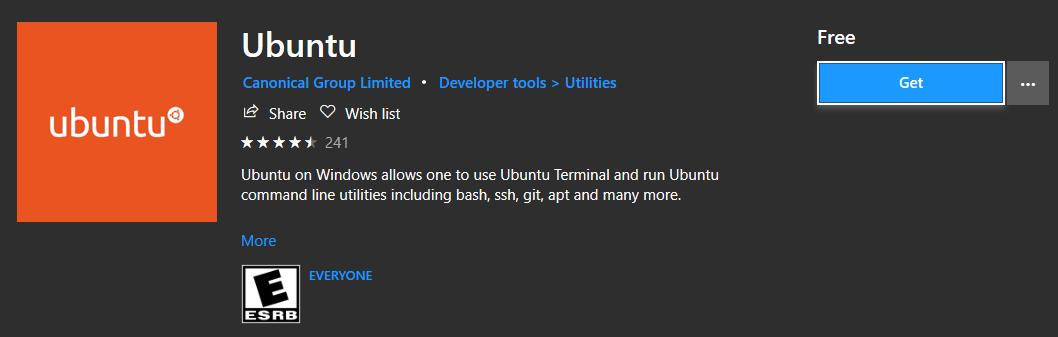
Click the Get button followed by the Install button and wait for the installation to complete. At this time go ahead and restart your PC.
Completing Setup
After your computer has restarted, go to the start menu and search for the Linux distro that you chose earlier. Launch the application and you should get a Bash shell window with a message stating that it is completing the installation process. Once the install is finished, you will need to choose a user name and password, these do not need to match the account you use for Windows.

Testing
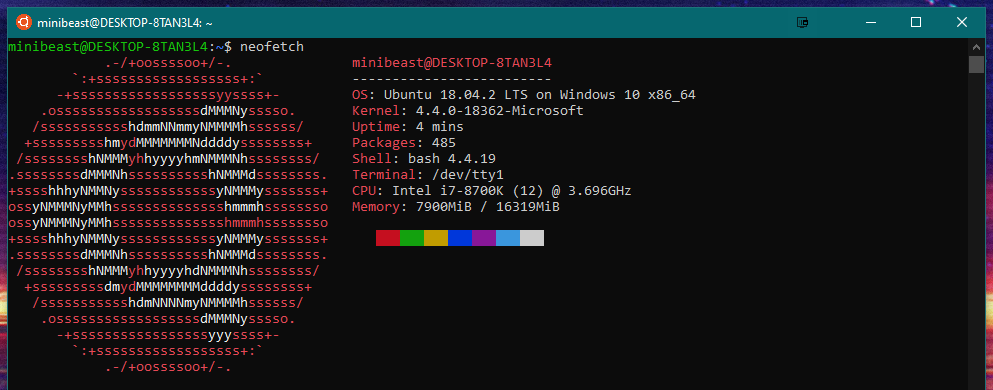
To test out our WSL setup, we will go ahead and install neofetch which is a small application that will return some system information in the terminal window. Let’s start by updating our package listing using the command sudo apt update. Once that is complete, we can install neofetch using sudo apt install neofetch. Finally, run neofetch by simply typing neofetch at the shell prompt and hitting the return key.
From here, you can install any number of Linux command-line utilities you may desire to use. Not everything will be fully supported at this time so there may be some trial and error involved. You can refer to this list to see what other users have discovered so far.
Leave a comment